![]()
One of the rites of passage for beginner Drupal users is to learn Panels. It's a useful tool for laying out pages and redesigning content pages without any code knowledge.
However, not everyone is a fan. Panels is sometimes criticized for being hard to use and for having performance issues.
In this tutorial we're going to introduce you to a powerful alternative: Display Suite. We're going to show you several ways in which it can make designing your content fun and pain-free.
Why Display Suite?
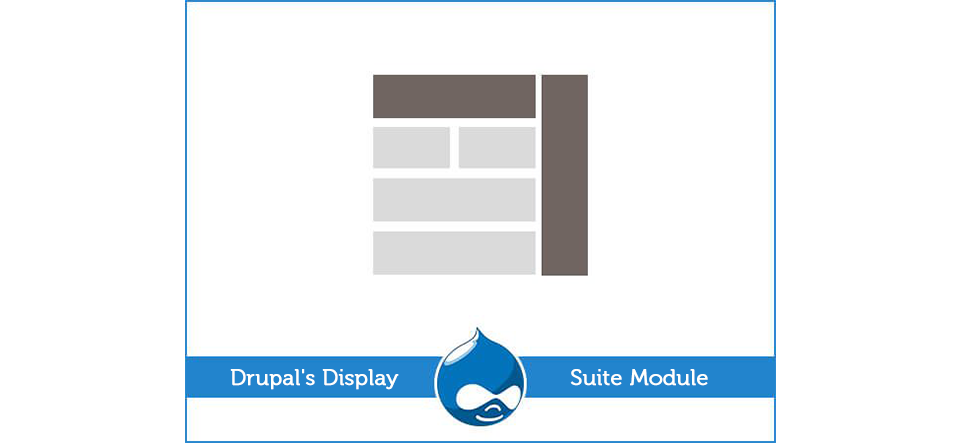
We're going to use Movies as our example. In the image below, we created a Movies content type and added several fields. We added a a Movie Poster, Director, Stars and the Length of the movie.
So far, so good. However, the vertical layout seen above is ugly. In contrast, the image below is Titanic as seen on IMDB.com. That site has a two column layout that makes the content much more attractive.
The goal of Display Suite is to allow us to move from the layout above to the layout below.
Getting Started with Display Suite
To start working with Display Suite, you just need two modules:
- Display Suite: http://drupal.org/project/ds
- Chaos Tools Suite: http://drupal.org/project/ctools
Download and install both modules. Make sure to enable all of the Chaos Tools Suite modules that you are able to in order to get as the full benefit from Display Suite.
Go to Structure > Display suite so to see the options available. We're going to start by clicking Layout.
You'll now see a list of all the things that you can redesign with Display Suite. You can create new layouts for Comments, Nodes, Taxonomy terms and User pages.
Get started by clicking on the content type you want to redesign.
You'll now see all of your fields. This screen can also be accessed by clicking Manage Display when you're working with a particular content type:
You'll now see your normal Manage Display option as in the image below:
The extra power of Display Suite can be seen at the bottom of the page. Click Layout for movies in default and you'll see some layout options:
In this example I chose Two column stacked and then clicked Save.
The Ajax-based drag-and-drop wasn't working for me, but I was able to use the Region dropdown to place each of the fields into different parts of the page:
When it was done, I had a layout that appeared close to IMDB. The Movie Poster was on the left and the other information was on the right:
One note of caution here: the are several view options available in the top-right corner. Make sure that you are redesigning the layout for Full content if you want to control the normal content pages.
If you've created your layout once, it is easy to re-use it for others by using the Clone layout option.
The end result can be seen below. I was able to divide my content into two columns:
If you need to get more sophisticated with your layouts, you have two options:
- You can add Panels to your site and use the Custom layout feature to add more options.
- You can use template files to change how existing layouts work. In the image below, I've highlighted how Display Suite helps with this.
View Modes
View modes is a very useful Display Suite feature that makes working with Views easier and more flexible.
Starting by going to Structure > Display Suite > View Modes > Add a view mode.
We're going to create a new View Mode called Sidebar which will add a layout for Nodes in our Sidebar. Go ahead and choose the settings below.
Now you can go to Structure > Display Suite > Layout > Manage display and enable your new view mode for the content type you're working with.
Click Save and it will appear as an option in the top-right hand corner:
Go ahead and set up your design the sidebar content. Choose the layout from the bottom of the page and then add your fields. Click Save when you're done.
If you haven't done so yet, go ahead and install Views http://drupal.org/project/views and create a View. Once your View is ready, click Fields under the Format label.
Usually you will have only Content and Fields as options but this time Display Suite will also be an option.
Choose Display Suite and click Apply (all displays). Then choose your new Sidebar View Mode.
The image below shows how my block turned out, using the Sidebar View Mode that I created. This View Mode can now be reused across as many Views and Blocks as you wish. You can make one update from inside Display Suite and automatically update all of those Views and Blocks.
Styles for Regions
The final feature we're going to look at is Display Suite's Styles for Regions feature. To start using it, go to Structure > Display suite > Styles.
I'm going to be subtle. I'm going to create a style for one of the my content regions called Big Ugly Border:
When I go back to my Manage display page, it's possible to apply that new style to any of the regions.
With some CSS added to the theme file, we can target that region accurately. Here's the CSS:
And here is the big, ugly border that resulted:
Summary
We have wanted to recommend Display Suite for over year. It is a far more user-friendly alternative to Panels for many layout option. Panels will still be a better option for designing individual pages such as your homepage or an important landing page. However for working with content types, we're now recommending Display Suite, particularly to beginners.
One note of caution: we have held off from recommending Display Suite until now because bugs were still being worked out. The Fields feature still contained too bugs many for us to recommend yet, but the rest of the Display Suite core worked perfectly during testing.